Hiya!
Back in the DD Underwear post I asked wheather you would be interested in a tutorial to see how I make DD pantsu, since the answer was quite positive, I did my best to show you the whole process (sorry for some blurry photos, it was dark when i took them :( )
Just a small note : I am not a professional seamstress, so any constructive critic is welcome, we all can improve from our errors! :D
To start with, materials needed:
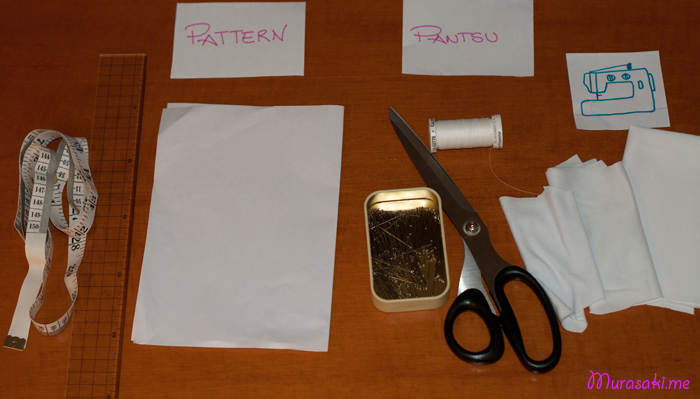
For the pattern:
paper
paper scissors
pencil (it disappeared in the photo :o)
meter
Pantsu:
fabric scissors
elastic fabric
needles
thread
and your sewing machine
The first step for any piece of cloth is to make a suitable pattern. In this case most of us have a default Volks pantsu that came together with the DD, you can always use those to create your pattern, if not you will have to take measures and draw it yourself in a paper. Here I will show you how to draw the pattern starting from zero.
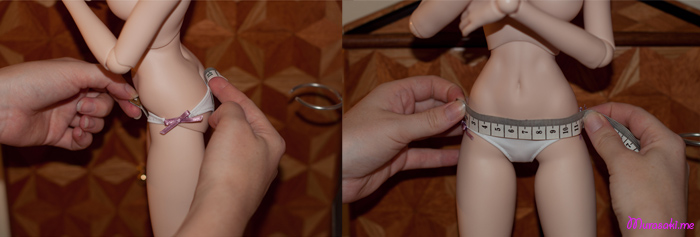
Take the measure of the DD’s waist, and depending how high you want the pantsu, take the measure from the front to the back as showed in the left picture. The measures I used were: waist line 10 cm ( 3.9 inches), length 15cm (5.9 inches) and width 2.5 cm ( 1 inch)
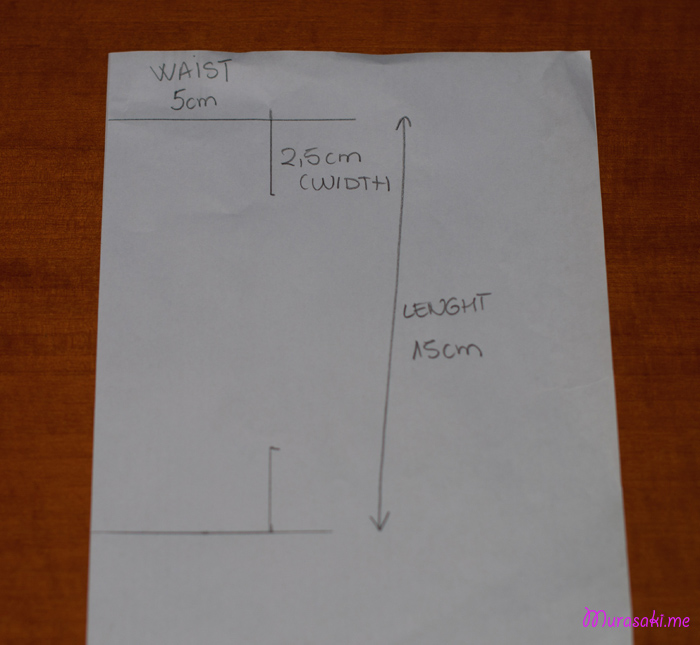
With those measures draw only half of the pattern. I would like to stress the importance of working with only half of the pattern since it’s important to make both sides equal. If you draw a full pattern, there is always a higher chance to cut the fabric different for each side.
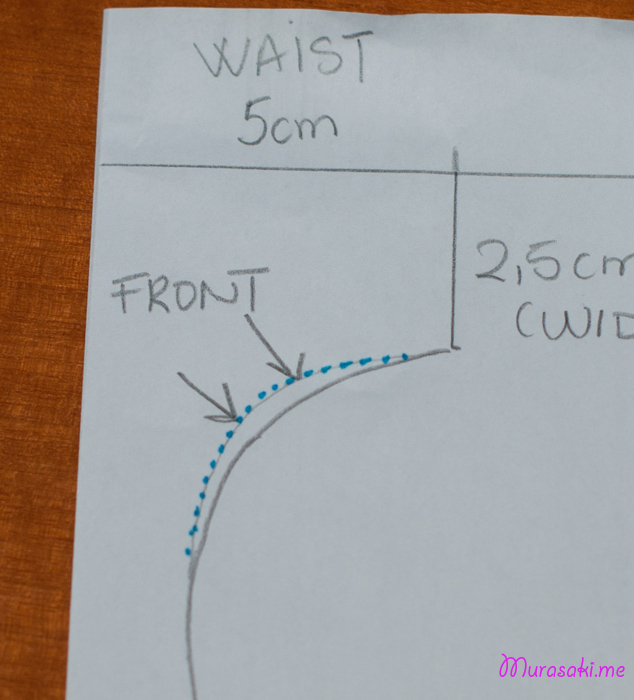
To draw the curved line keep in mind that the front part is always narrower than the back (blue dot line), in other words, the front has to be smaller than the back.
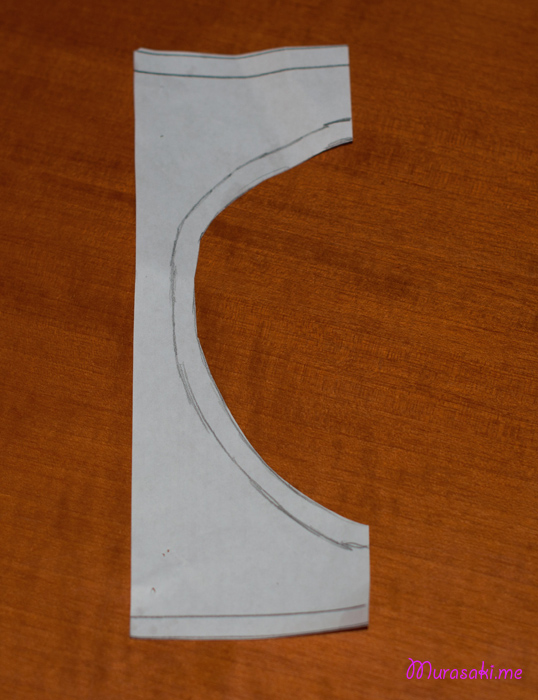
The measures I gave you above include the seam allowance line (0.5cm), I draw them so you can see where I’ll be sewing later.
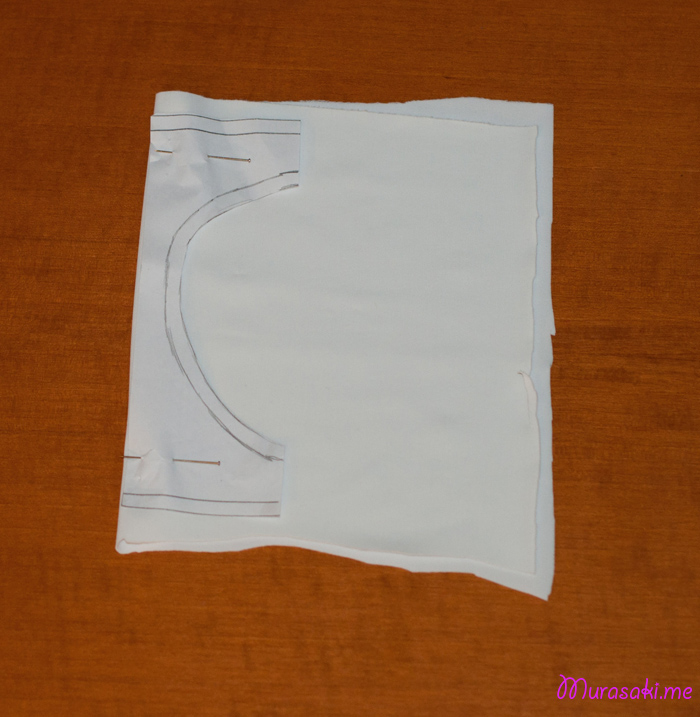
Bend the fabric in a half and place the pattern on it holding it with needles.
In order to make pantsu, you need to choose elastic fabric, otherwise it won’t fit tightly. You can use cotton knitted fabric (or t-shirt fabric), polyester knited fabric (similar to Volk’s default pantsu) and lycra (same as the material used for a swimsuit, but matt, not shiny). I chose lycra since it’s quite easy to sew and the material doesn’t get “eaten” by the sewing machine as t-shirt fabric. With any of those 3 types of fabric, use a ball-pointed needle.
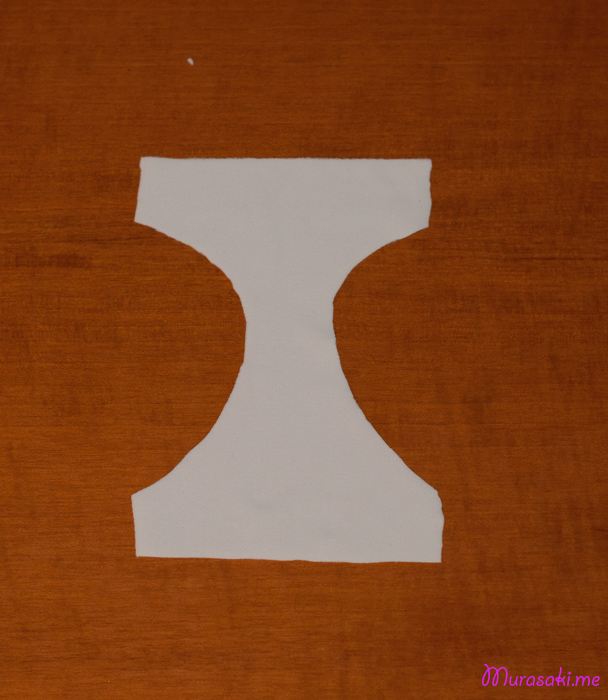
Cut the fabric and make sure both sides are as equal as possible before starting to sew.
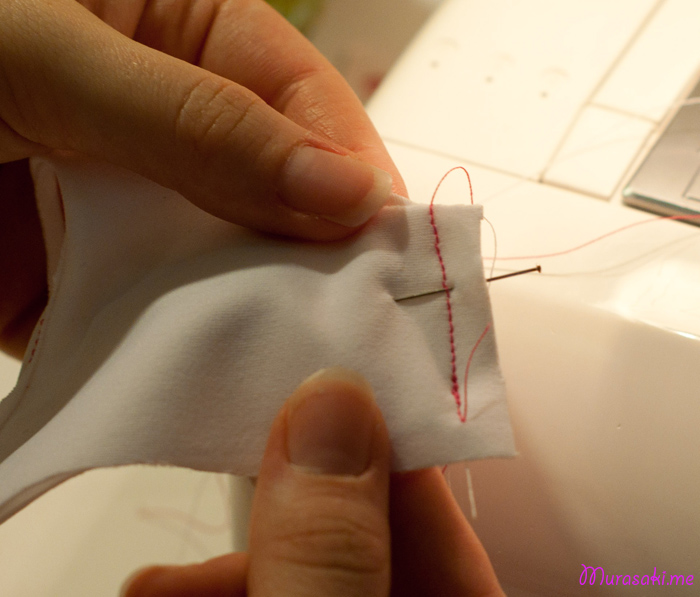
Bend the cut fabric good with good side together and sew both sides together. I used dark pink thread so you can see it better.
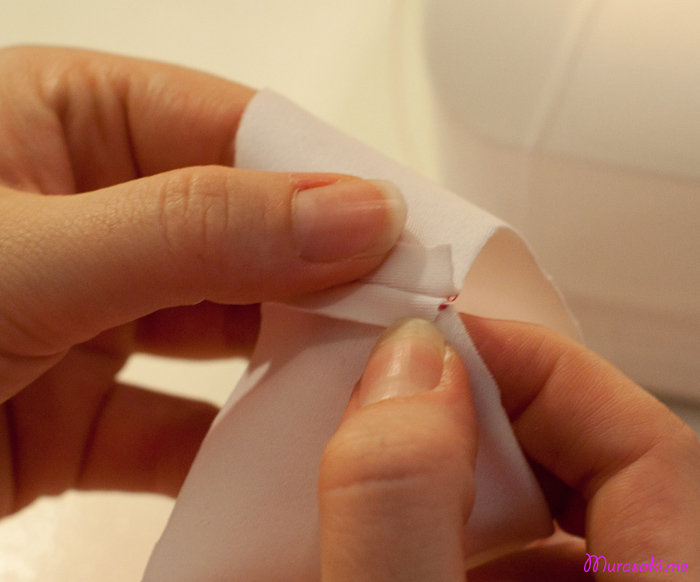
Separate the extra fabric left after the first seam
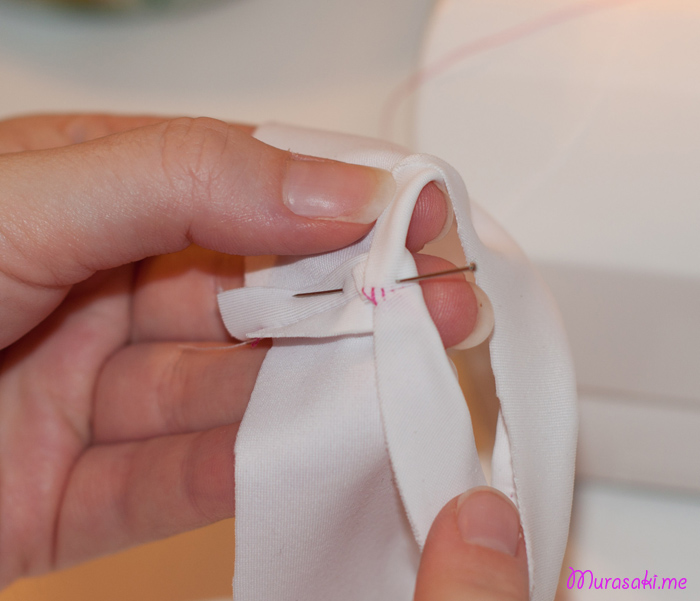
Fold the part that will go around the leg and hold it with a needle
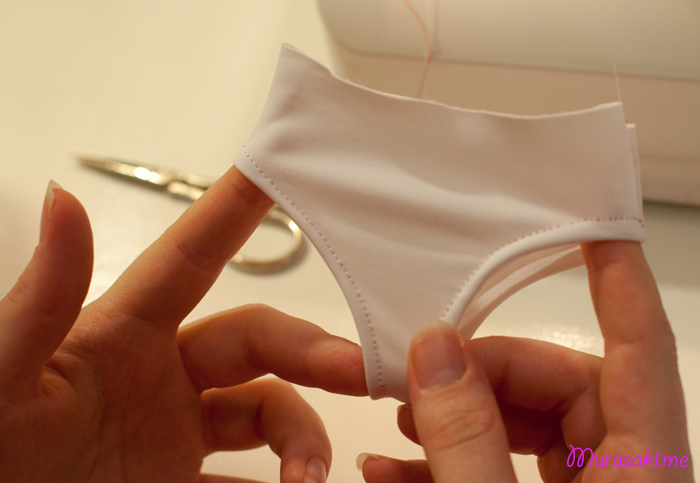
the result after sewing both sides
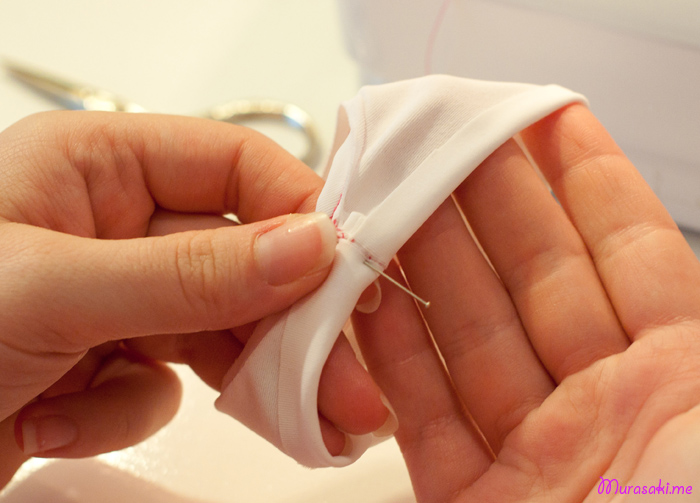
Now fold the fabric to sew the waist part, the same way as on the previous steps
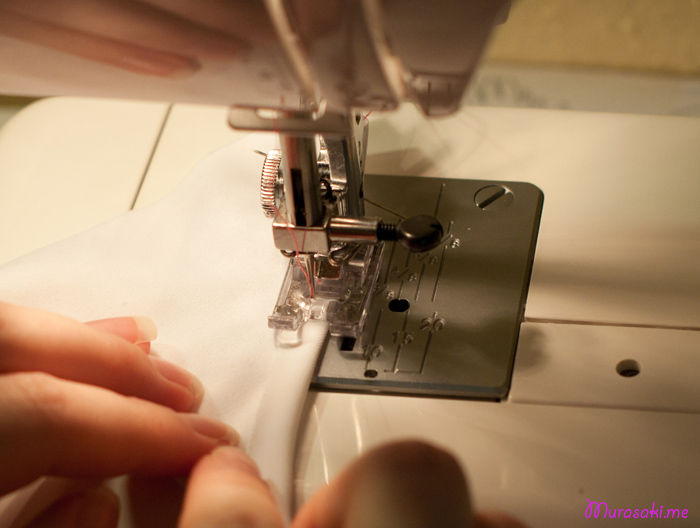
A small tip: when you start sewing elastic fabric always hold the extra thread you left at the start and pull it backwards a bit just at the same time as you start sewing (that prevents the material to get eaten by the machine at the beginning).
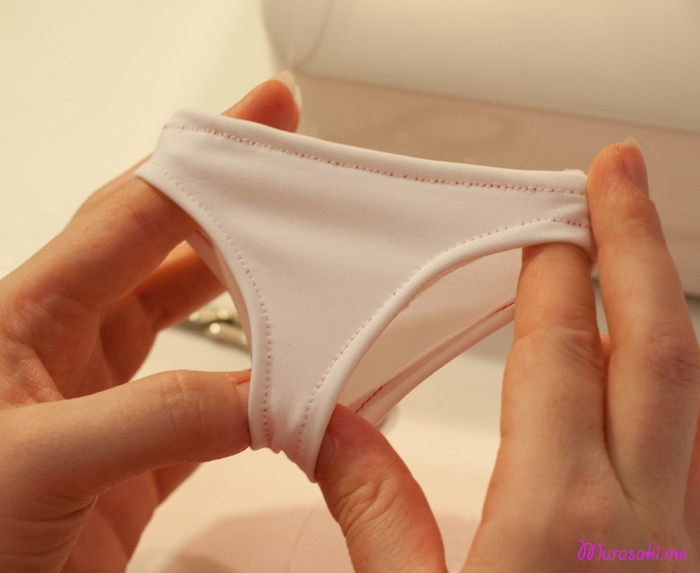
Almost done there!
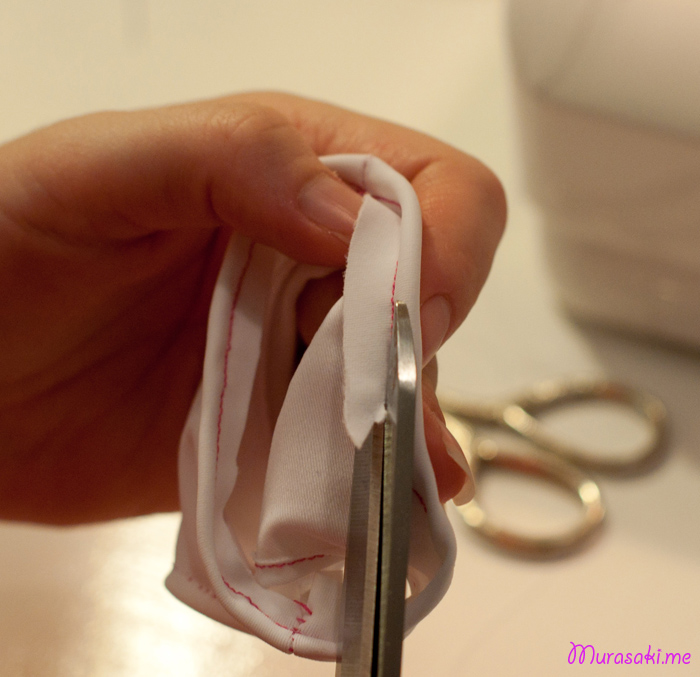
Cut the extra fabric left on the inner side
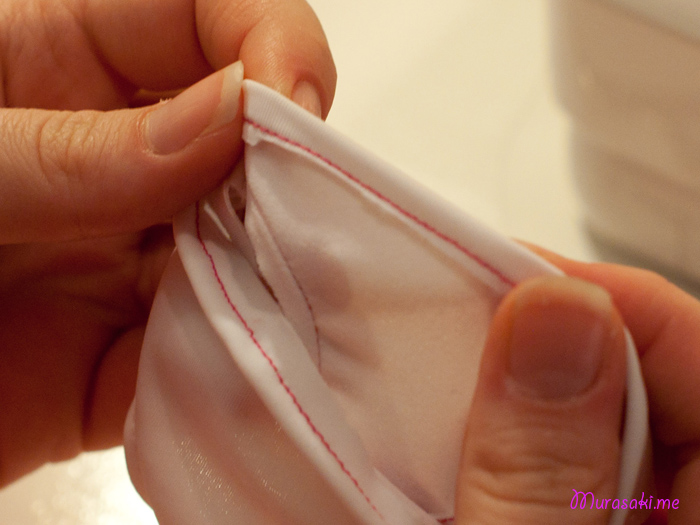
It should look like that
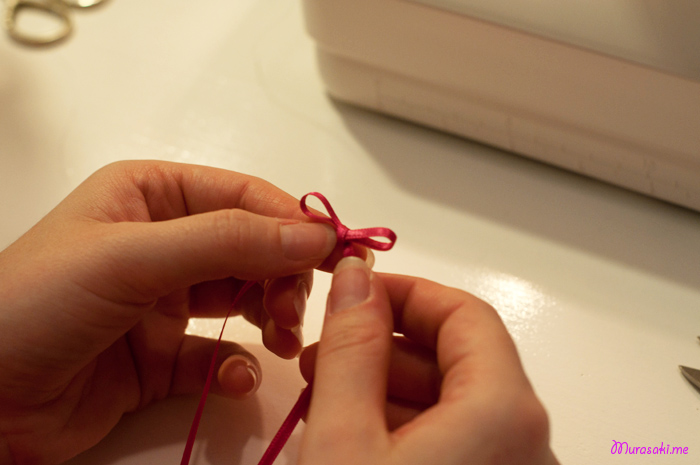
You can add a ribbon or two
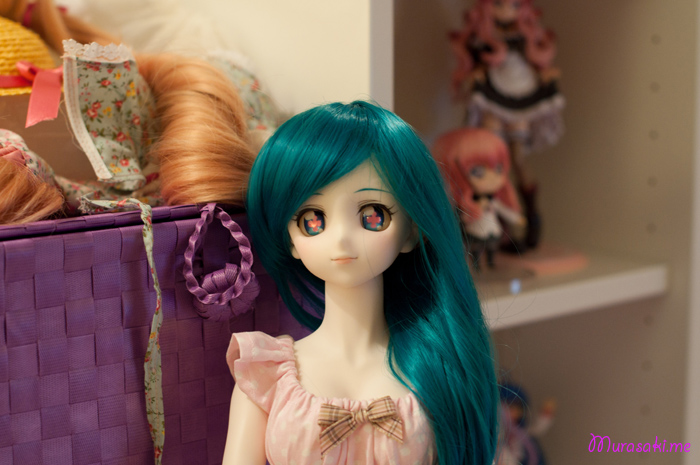
Nia-chan was there supervising the whole process!
Next week I’ll post a tutorial about body stocking!
Thanks for reading!!!
(I’m not a native english speaker and i’m not very familiar with “sewing” terms in english, so ask any question you have if something is not clear xD)

19 Comments
Leave a reply →