Helloooo!!
As I promised, this week’s post is about how to make a body stocking for your DD.
You will see that it’s very easy and fast if you have a sewing machine.
When I got Nia and saw her totally white skin, I thought that getting a body stocking as soon as possible was mandatory, so I thought of an idea to make one myself. The thing that first came to my mind was to use a pair of nylon stockings!! Yes, easy as that xD
Note: I don’t recommend hand sewing it, with stretchy fabric your stitches might get loose.
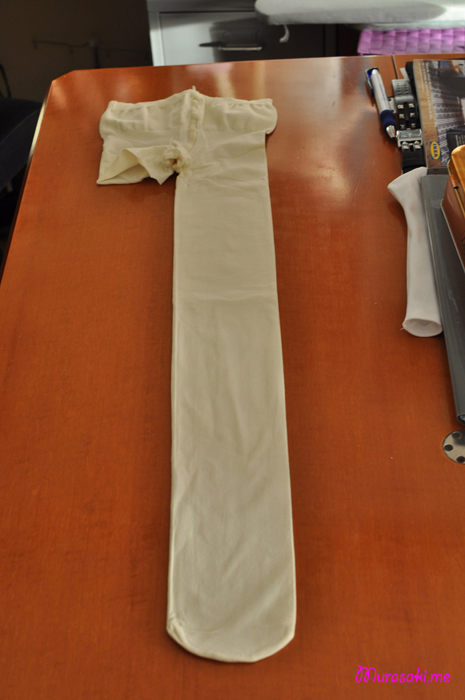
So I went to a stocking/pantyhose shop and looked for a suitable color for Nia’s skin. Was lucky to find this ivory pantyhose with 80 DEN of density (DEN refers to the density of women nylon stockings, the higher numbers are always more dense and strong. For example, Mashiro’s default tights are very low DEN, probably 20).
I’m going to use the same material as I used for Nia’s first body stocking, as I still didn’t had time to buy one for Sakura.
 ....
....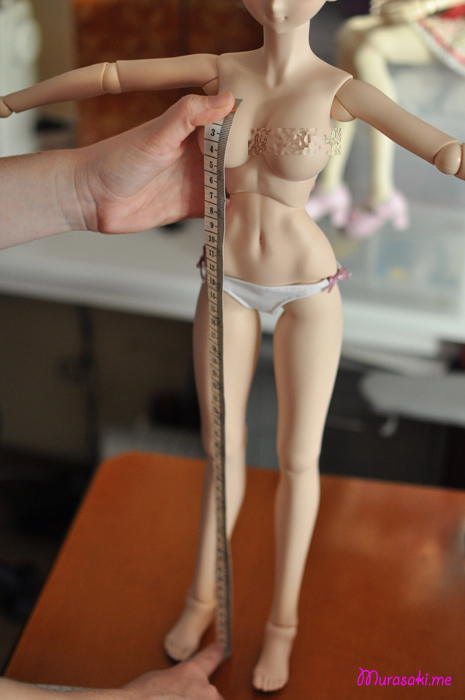
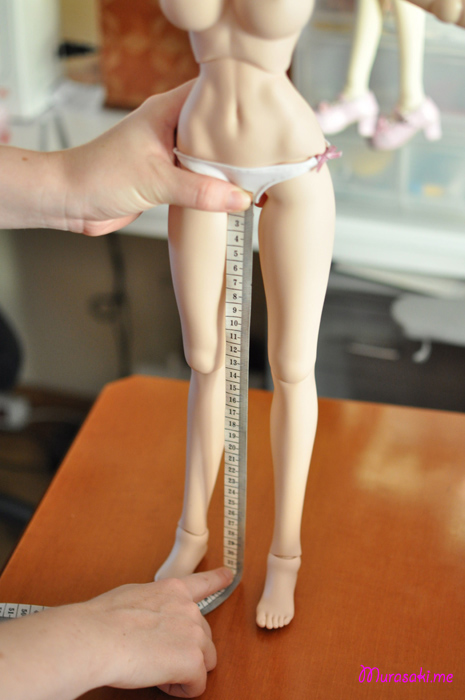
Take the appropriate measures as shown in the picture. (30 cm and 45cm)
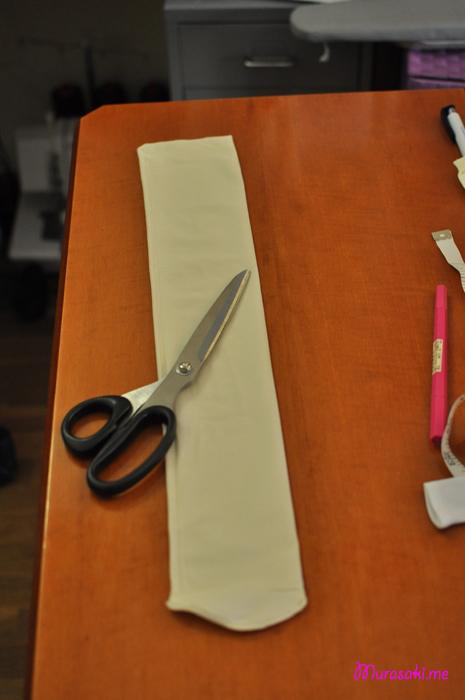 …
…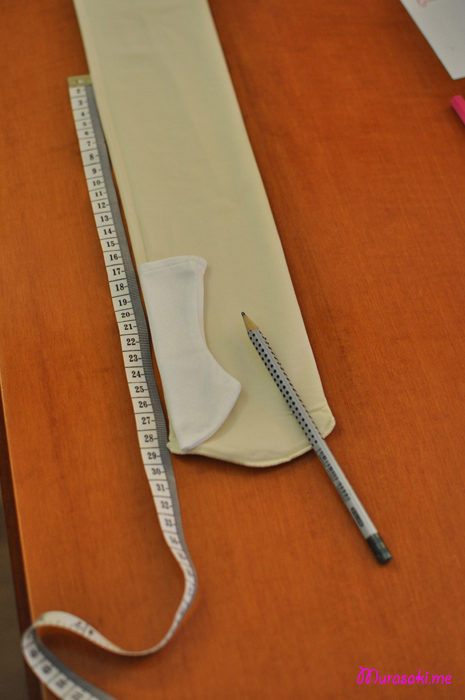
Turn the stocking to the “wrong” side. You can use a default Volks stocking as a guide (if not, don’t worry, the material is very stretchy and even if you make it without the feet shape it will fit)
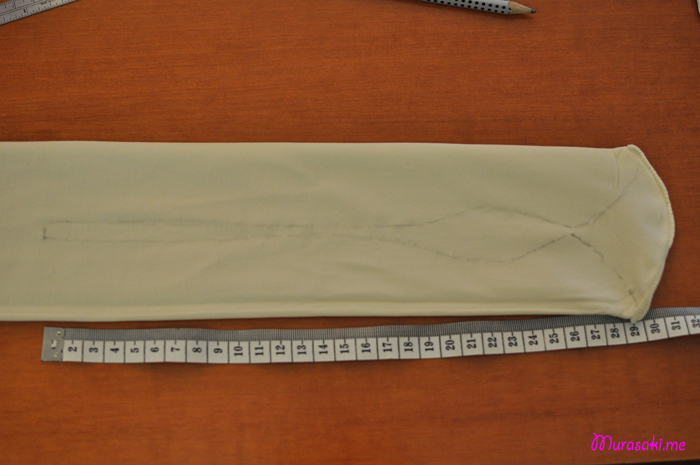
Draw with a pencil the line through which you will make the seam. Instead of 30 cm, set the meter at 28 since the fabric will stretch when put on the doll.
Without cutting the fabric, sew along the line. I hope that seeing a video helps.
As I mentioned in the underwear post, for stretchy materials, always pull the extra thread at the beginning to prevent the fabric get “eaten” by the machine. At the start, always make a few stitches forward and backwards and then again continue forward, the same to finish.
Notice that I’m holding a bit the fabric so it doesn’t “run” that fast under the machine, this way you will allow the seam to be more elastic when put on the doll (remember that the fabric is stretchy, but not the thread). When you finish you will notice that the seam has gathered a bit, at this point try to stretch it a bit, and you’ll see that thanks to the previous step the fabric stretches along with the thread.
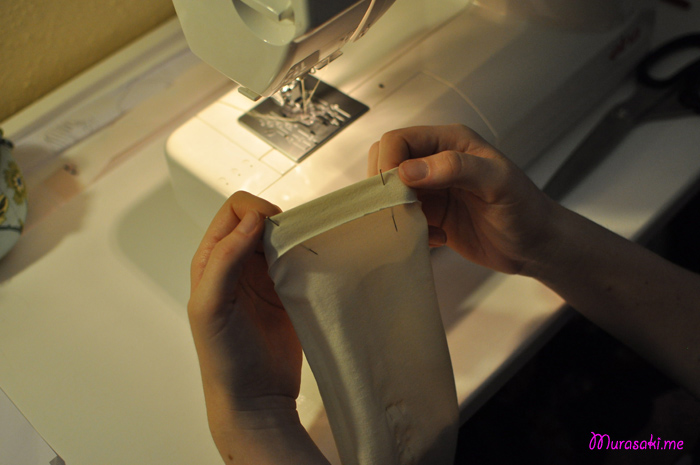
At the 45 cm line, fold the fabric to make a border and proceed to sew as before. (remember that you are working on the “wrong” side of the fabric).
Before cutting the fabric, I recommend to try the body stocking as it is on your doll, in case some parts turned out too tight, you can always undo the seam and do it again. Also, you can see how many fabric you will need to cut at the back to make it fit tightly.
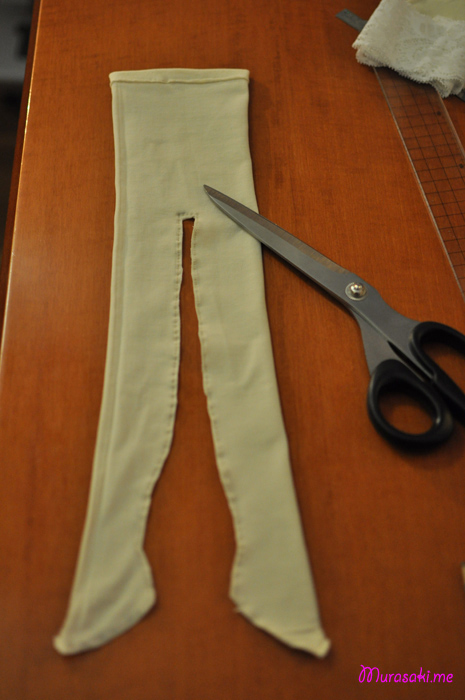
This is how it should look after cutting along the seam and leaving a few mm of space.
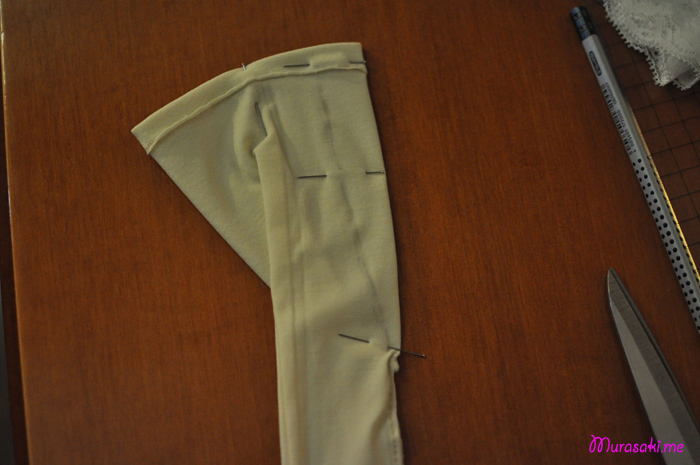
In order to make the back seam (if you skip this step, the body stocking will be loose around her waist) chose which part will go to the back, set the middle point and fold it in half all the way until you reach the finished seam from before.
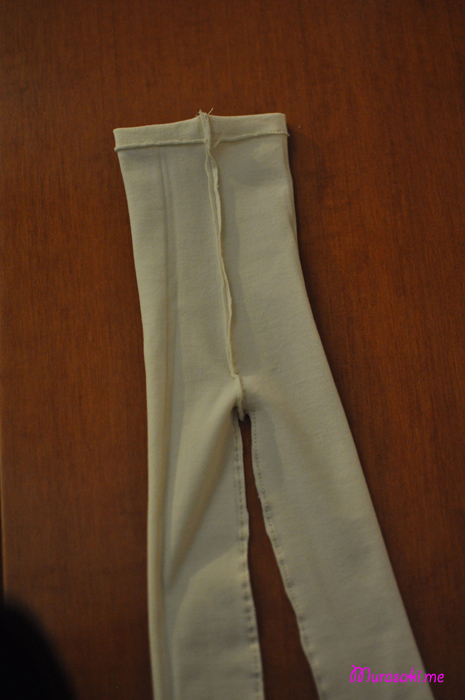
You can randomly set the amount of fabric to fold here, the only limitation is the top border seam, if you didn’t stretch the fabric enough while sewing it, and the thread will prevent you to put it over her chest. I cut about 2-3 cm at the top and drew a line following the curves of her back (more or less).
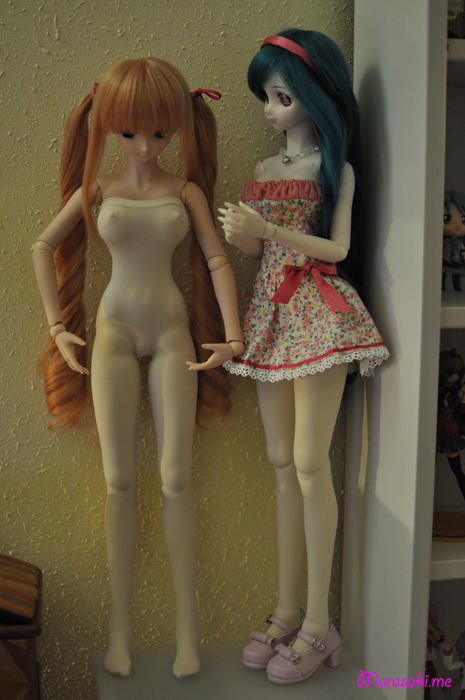
And it’s done^^ Sakura-chan looks happy with the result, although she looks weird with this “skin” color xD
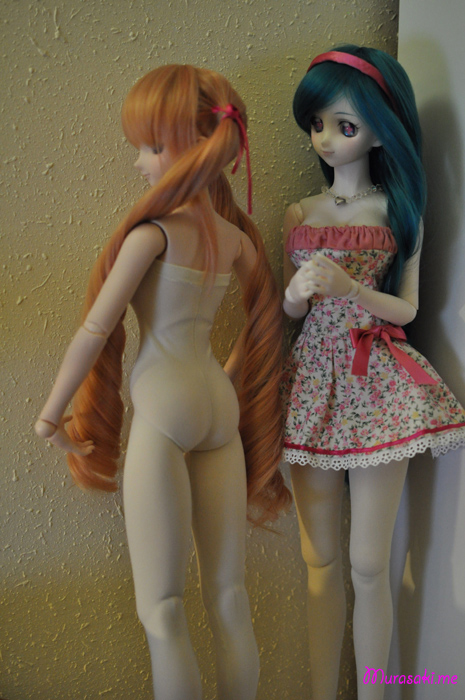
If you like, you can add extra details on the top border, such as ribbons, or some stretchy lacy fabric.
I hope everything was explained clearly, any further questions, please ask me!
Thanks for reading/watching!

21 Comments
Leave a reply →